Notes on Teardown

Collapse
X
 
  • Filter
  • Time
  • Show
Clear All
new posts
  • Chip Hindes
    Senior Member
    • Aug 2007
    • 59

    Notes on Teardown

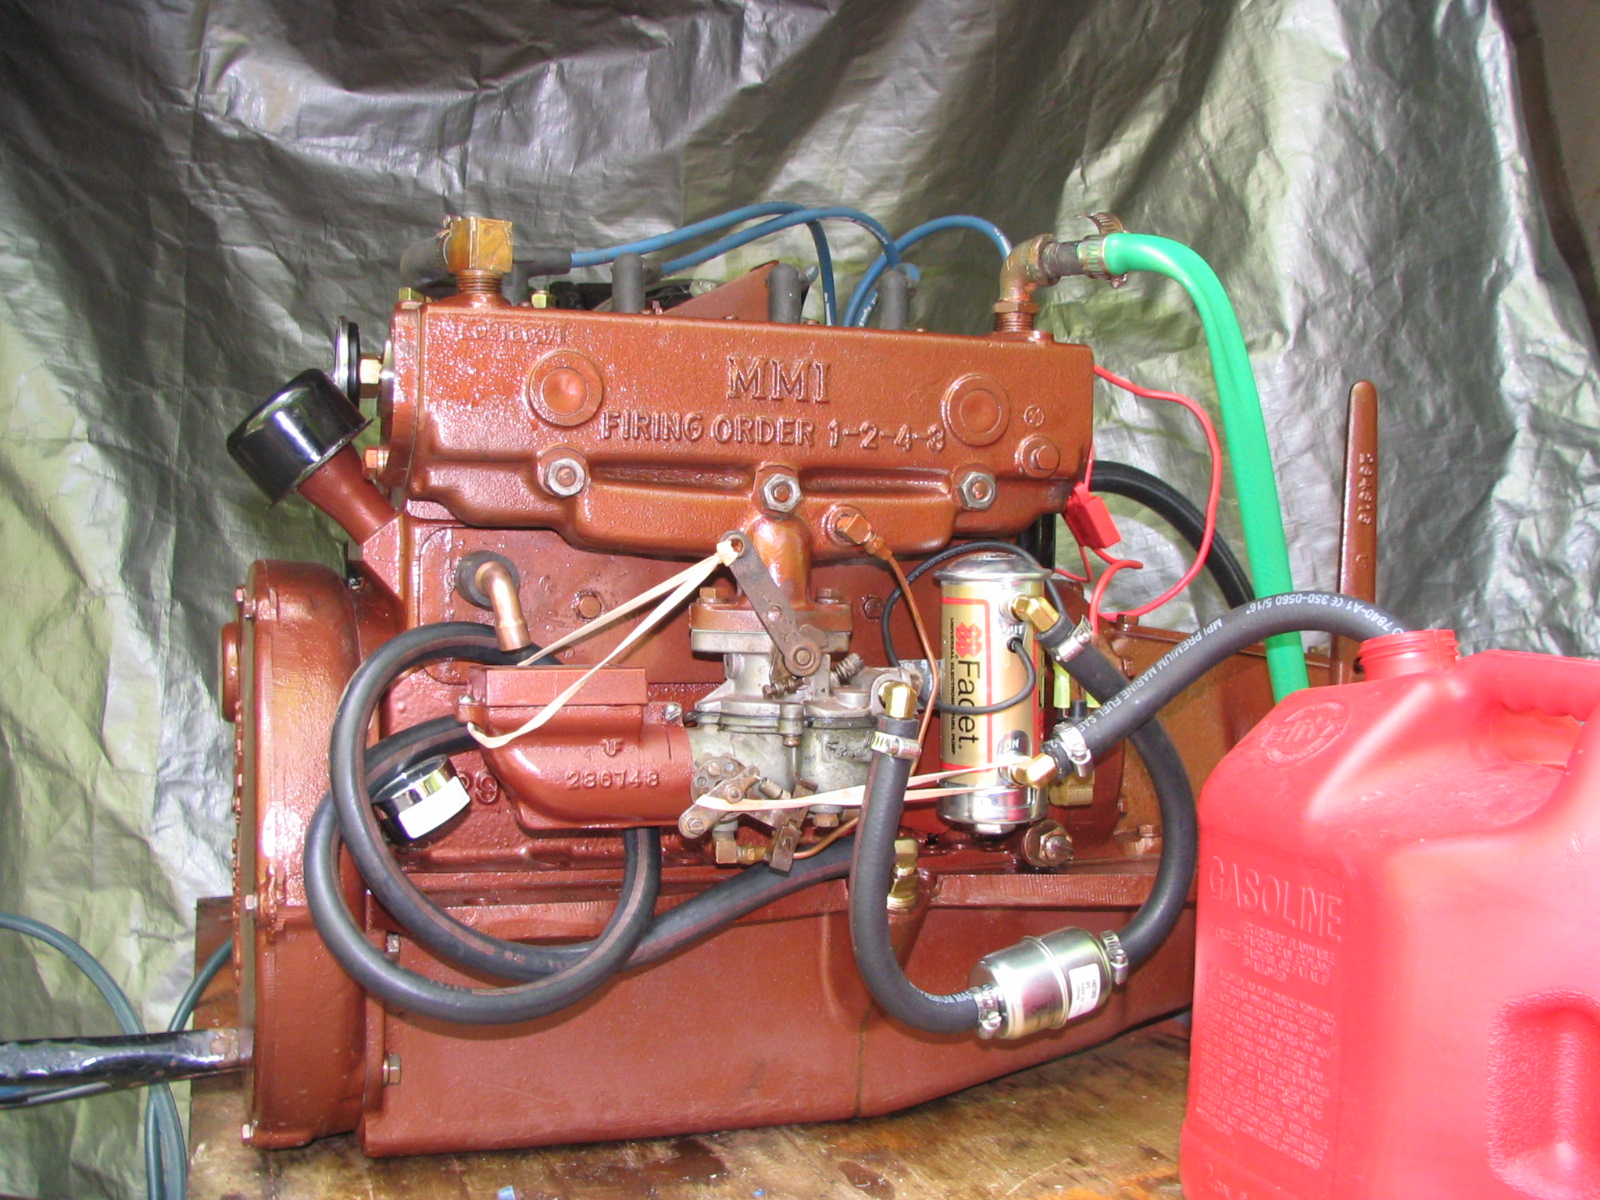
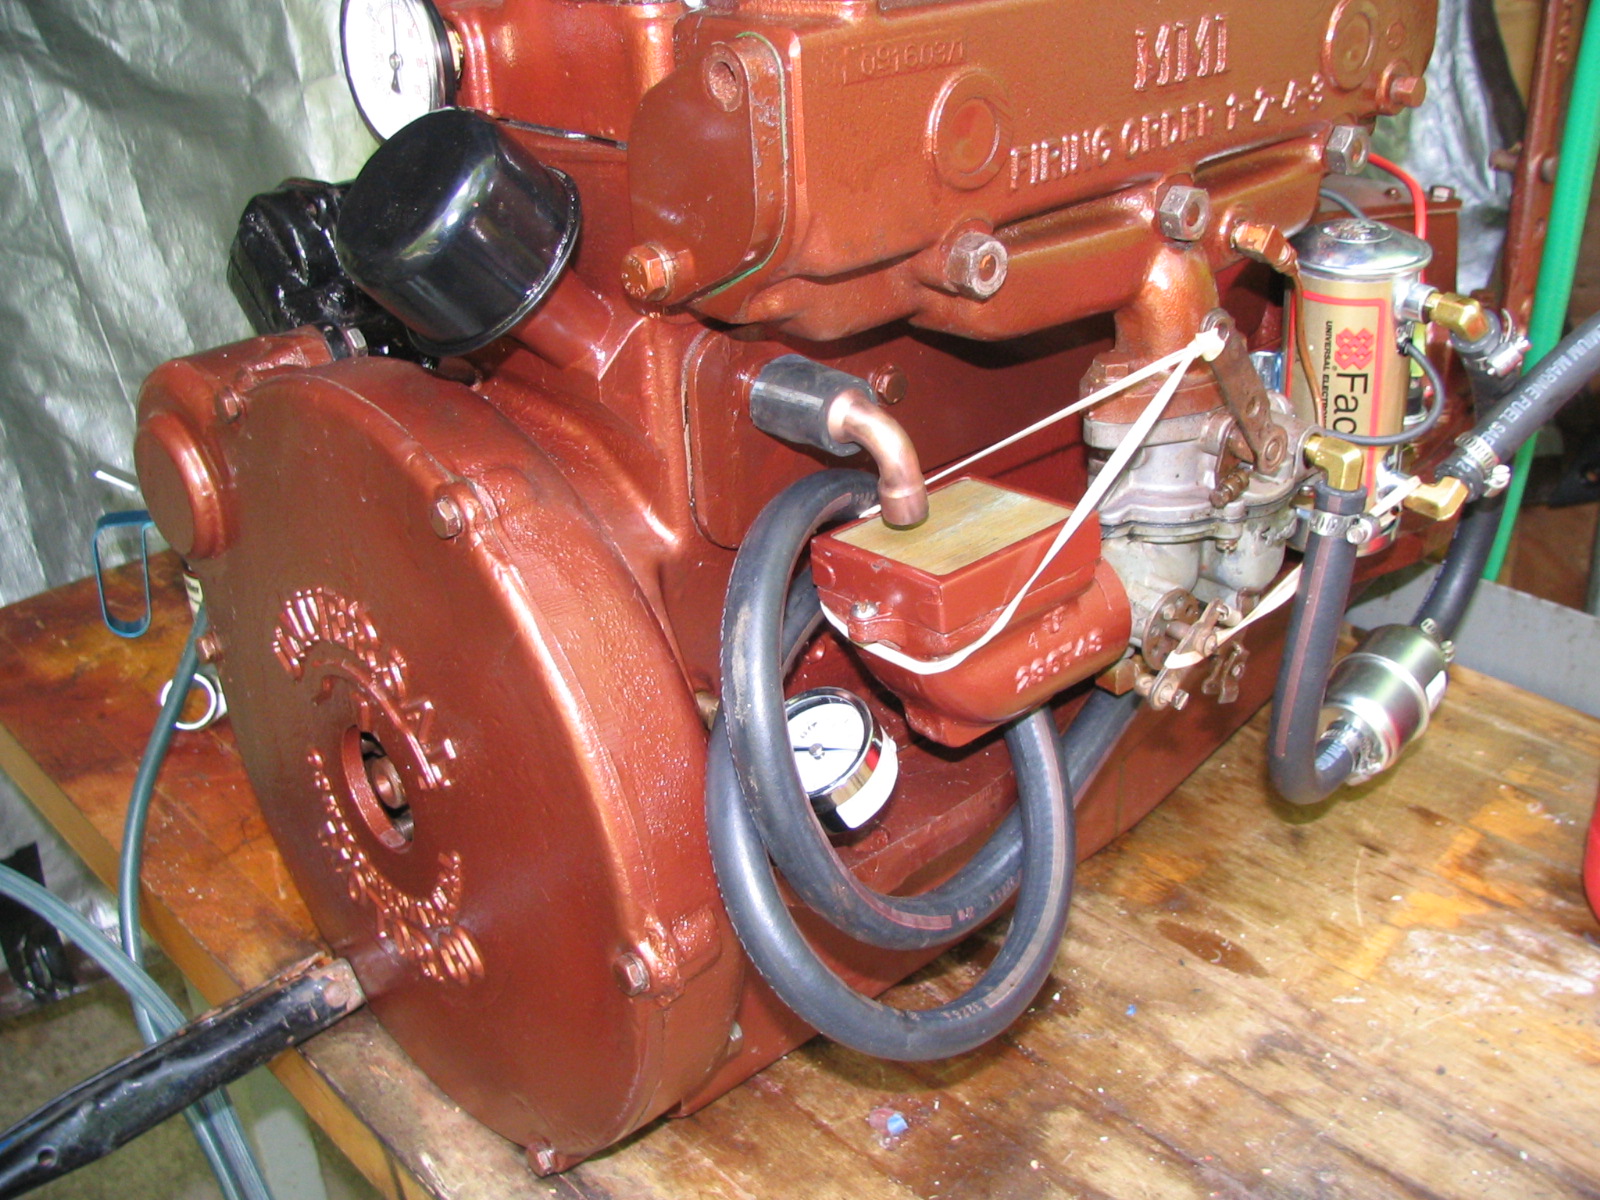
    Just completed the teardown of my A4.

    Broke both thermostat studs off with the stud removal tool. I was eventually able to get them out, but now the tapped holes are badly oversize. Will be going the repair bushing route on those.

    While chasing the threads in the block, discovered the hard way I was "chasing" not an original threaded hole but a Helicoil someone had installed previously. har way being I broike the tap and then pushed the Helicoil into the water jacket. I was able to get the tap out with a four finger extractor ($18) then grab the Helicoil through the hole with a pair of needle nose pliers, "unravel" it and pull it out as one long string. That will be repair bushing number 3.

    Rust chips are piled up in the water jacket to the level of the side plate opening.

    Exhaust valves and seats on cyls 2 & 3 are pretty ragged, though it was 1 & 2which were reported to be no compression by the previous owner. Valve job is in order.

    Rest of the teardown went pretty much as advertized without major problems.

    Cam and tappets show no wear ar all.

    Main bearings appear as new, as are those on pins 2 and 3.

    Bearings on crankpins 1 and 4 are well worn and show some scoring on the pins. I'll try polishing the pins and see if they're too worn for standard size new bearings. Otherwise I'll go for a .010 undersize regrind. I've never had a crankshaft reground on the pins but not the mains, but don't see any reason to have the mains ground when they're in such good shape.

    Bores look OK with minor scoring, pistons have some fairly heavy wear on the skirts; we'll see how everything measures out before I decide what to do with them.

    Interestingly, the "last appendage" as Don puts it, was by far the worst, as Don also warned it might be. The idler gear was literally flopping around on the spindle. I could rock it a good 1/8 inch back and forth. Didn't even bother to measure it, but I guess the bearing was worn .025" oversize at the block end, .010" at the other end; i.e., tapered. The spindle is toast as well, no way that will clean up for a standard size bearing. That can't have been good for oil pressure. The oil feed hole was pointing right rather than down as Don suggests is normal, but I can't imagine it would make that much difference.

    Starting to make a list of the purchases for the rebuild. I figure that a good chunk of the "cost" of this rebuld will actually be in my labor, so my tendency at this point will be to replace rather than put it back together with possibly marginal stuff.

    Question: Does the full gasket kit contain the double head gaskets?
    Chip Hindes
    '74 Newport 30' S/V "Scarlett"
  • Don Moyer
    • Oct 2004
    • 2823

    #2
    Chip,

    Great Job! The gasket kit does include two head gaskets.

    Don

    Comment

    • Chip Hindes
      Senior Member
      • Aug 2007
      • 59

      #3
      OK, so after a long winter hiatus I completed the rebuild and got the motor back in the boat.

      Ended up with new .020 over pistons, polished mains and new standard bearings, .010 under rod bearings, valve job with new springs, rebuilt idler gear. While I was at it, carb rebuild, aftermarket thermostat and new housing, breakerless ignition, electric fuel pump, oil change kit and two cans of Atomic 4 bronze.

      Did all the work myself except the machine shop stuff.

      I also replaced the previously abandoned, original steel fuel tank and 20-odd gallons of really nasty three plus years old gasoline with a new plastic version which should last longer than I do.

      So far I have about an hour on the bench and an hour in the boat and it runs like a top. Haven't been able to get the alternator to work yet and need to adjust the transmission in forward as it slips at higher speeds.

      The marina guys who have been working on the boat for the previous owner the past five years saw the new motor when it was still in the back of my truck and couldn't believe it was the same one. After the test run they said the old motor didn't run well even in neutral and never had enough power to slip the tranny.

      I'm pleased. Many thanks to Don for the many written pearls of wisdom in this forum and the manual, and to Ken in parts for his own help and advice. I have some photos I'll post when I get a chance.

      Now if I can only get the alternator to work so I can go sailing.
      Chip Hindes
      '74 Newport 30' S/V "Scarlett"

      Comment

      • Don Moyer
        • Oct 2004
        • 2823

        #4
        Great report Chip; thanks for sharing. I'd take your alternator in to a
        local automotive alternator/starter repair shop to have it checked out.

        Don

        Comment

        • Chip Hindes
          Senior Member
          • Aug 2007
          • 59

          #5
          Alternator now works, you can check the report in the "Electrical" Topic.

          Adjusted the tranny two notches per the instructions in the manual. That was too many also as stated in the manual. Tranny was very difficult to shift into and out of gear. Backed off a notch and it works great. Put a little over two hours on it over the weekend.

          With full choke and a touch of throttle, fires instantly. Top speed on my 8800lb Newport 30 is about 6.8 knots by the knot meter. Didn't have the GPS so couldn't check it that way, and it has no tach. I'll take the GPS and borrow a laser tach from work for the next run in two weeks.
          Chip Hindes
          '74 Newport 30' S/V "Scarlett"

          Comment

          • Chip Hindes
            Senior Member
            • Aug 2007
            • 59

            #6
            Photos as promised.


            Note the classy fuel tank setup and the ingenious throttle and choke control apparatus consisting of heavy duty rubber bands. The motor is actually running in this photo; you can tell because the garden hose water return is not fully collapsed.


            The crankcase vent system is courtesy a previous owner or some long ago marina. Yes, I know one of the manifold block off bolts is missing. You can't see the numbers on the oil pressure gauge but it is registering 40 psi.
            Chip Hindes
            '74 Newport 30' S/V "Scarlett"

            Comment

            • Kelly
              Afourian MVP
              • Oct 2004
              • 683

              #7
              Chip,

              Thank you for the excellent pictures. I'll have to use more rubber bands in my engine work. Did you choose the marine grade ones that cost four times as much??

              One question: what is the tube (copper?) running from the bottom of the manifold to the bottom of the carburetor? If my memory serves me well, this manifold outlet was plugged on my A4.

              Thanks,
              Kelly
              Kelly

              1964 Cheoy Lee Bermuda Ketch, Wind and Atomic powered

              sigpic

              Comment

              • tenders
                Afourian MVP
                • May 2007
                • 1452

                #8
                I believe that copper tube is a "scavenge" tube designed to slurp any fuel that pools in the mouth of the carb into the cylinders.

                Comment

                • forcenine
                  Senior Member
                  • Jan 2007
                  • 71

                  #9
                  2 Head Gaskets???

                  Don,
                  Pls don't tell me I need to use 2 of those head gaskets during replacement. I only ordered one of those expensive buggers.

                  Also, do you feel it is necessary to remove the studs that did not come out during head removal in order to torque down the head nuts when putting it back together-run a tap just be be sure, etc?

                  I know not to torque down the removed studs that have nuts that would not come off without their studs.

                  Head gasket is applied dry - right? Or do I put on any aviation?
                  Lisa

                  Comment

                  • Don Moyer
                    • Oct 2004
                    • 2823

                    #10
                    Lisa,

                    You really should use two head gaskets or the compression ratio will be somewhat artificially boosted. Not to worry, if you ordered the head gasket from us; you should be getting two since we only sell them in pairs (for the same price Westerbeke sells a single gasket).

                    Install the gasket(s) dry and you can leave the studs in place that did not come out. You're correct to remove the nuts from the studs that did come out before reinstalling them.

                    Don

                    Comment

                    • anglosax
                      Senior Member
                      • Oct 2006
                      • 78

                      #11
                      stud repair

                      Chip
                      I have the same problem as you with helicoil insets in the head now failing. You mentioned repair inserts in your tear down , what size did you use & are these MMI or supplied from somwhere else
                      Thanks
                      Its a boat... what can possibly go wrong.....?

                      Comment

                      • Chip Hindes
                        Senior Member
                        • Aug 2007
                        • 59

                        #12
                        I used repair bushings. I believe the correct MMI p/n is OBLK_09_114. The catalog does not include a full description but as I recall the threads are 3/8by 1/2". When you call parts tell Ken what you need them for and he'll set you up with all the right stuff.

                        They come with complete instructions. They are a little more difficult to install than I anticipated but still not too tough. They are apparently somewhat oversize to ensure a tight fit. The first hard part was getting them far enough into the newly tapped holes that they didn't protrude way above the block surface. The second hard part was tapping down the locking tabs without bending them over.
                        Chip Hindes
                        '74 Newport 30' S/V "Scarlett"

                        Comment

                        Working...
                        X